What Is a DIY Solar Kit for Homes?
A DIY solar kit for homes is an all-in-one package designed to help homeowners install their own solar panels and related systems. It typically includes everything you need to set up your solar system, like solar panels, micro inverters or a string inverter, solar panel racking, solar panel cables, surge protectors, and a combiner box. The kit also comes with important NEC required components, such as PV system labels and a one line diagram, which are essential for ensuring safety and compliance. Many kits also offer product installation instructions to guide you through the process, and some provide design support and installation support to help you get your system up and running smoothly. If you’re looking for battery backup or want an off grid solution, the kit may also include a charge controller, solar batteries, and battery cables. What’s great about DIY solar kits is that they don’t usually include general electrical materials, so you can easily purchase these locally and save money. With the right setup, you’ll be able to harness the sun’s energy and reduce your reliance on traditional power sources.
Components of a DIY Solar Kit for Homes
A DIY solar kit consists of several crucial components that work together to provide a complete solar energy solution for your home:
- Solar Panels: The main component that captures sunlight and converts it into electricity.
- Micro Inverters or String Inverter: These manage the energy conversion and flow, maximizing the system’s efficiency.
- Solar Panel Racking: A system that ensures the solar panels are securely mounted on your roof or other surfaces.
- Solar Panel Cables: These connect the solar panels to the rest of your system, allowing electricity to flow through.
- Surge Protectors: Essential for protecting your system from unexpected electrical surges.
- Combiner Box: Integrates the outputs from multiple solar panels into one line for efficient energy management.
- NEC Required PV System Labels: Necessary labels that comply with electrical codes, ensuring safety.
- One Line Diagram: A schematic that helps understand the wiring and configuration of the system.
- Charge Controller: Used to manage the charging of solar batteries, ensuring they are charged properly.
- Solar Batteries: Store the energy generated by your solar panels for use when the sun isn’t shining.
- Battery Cables: Connect solar batteries to the system, allowing energy storage and use.
- Battery Backup: A critical feature that ensures your home has power even during cloudy days or at night.
- Off Grid Components: If you’re aiming for an independent solar setup, this includes the necessary parts to run your home entirely off the grid.
Assessing Your Home’s Energy Needs
When evaluating how to effectively use DIY solar kits for homes, it’s crucial to first assess your home’s energy needs. This involves calculating the average energy consumption of your household, identifying which appliances and systems will benefit most from solar power, and understanding the overall electricity demand. By analyzing daily usage patterns, including lighting, heating, and cooling needs, you can determine the appropriate solar panel capacity required to meet those demands. Taking this proactive approach will help you maximize the efficiency and savings of your solar setup, ensuring that your home remains energy-efficient while reducing reliance on traditional electric grids.
Preparing Your Home for a DIY Solar Kit Installation
- Roof space: Before installing a DIY solar kit, make sure you have enough roof space to accommodate the solar panels. This requires measuring your roof and ensuring there’s ample room to position the panels in the optimal orientation for maximum energy capture.
- Roof condition: It’s essential to assess the roof condition to ensure it’s sturdy enough to support the solar panels and racking system. A thorough inspection will help avoid any structural issues during installation and ensure the longevity of both your roof and solar setup.
- Sunlight exposure: A crucial factor in solar panel performance is the amount of sunlight exposure your roof receives, particularly during peak hours. Make sure your roof gets consistent sunlight to ensure the panels generate the necessary energy output throughout the day.
- Shading issues: Shading can significantly impact the efficiency of your solar panels. Trees, chimneys, or other structures that block sunlight should be identified and minimized to maximize the solar energy captured by the panels. Consider trimming trees or relocating obstructions to improve performance.
Step-by-Step Guide: Installing a DIY Solar Kit for Your Home
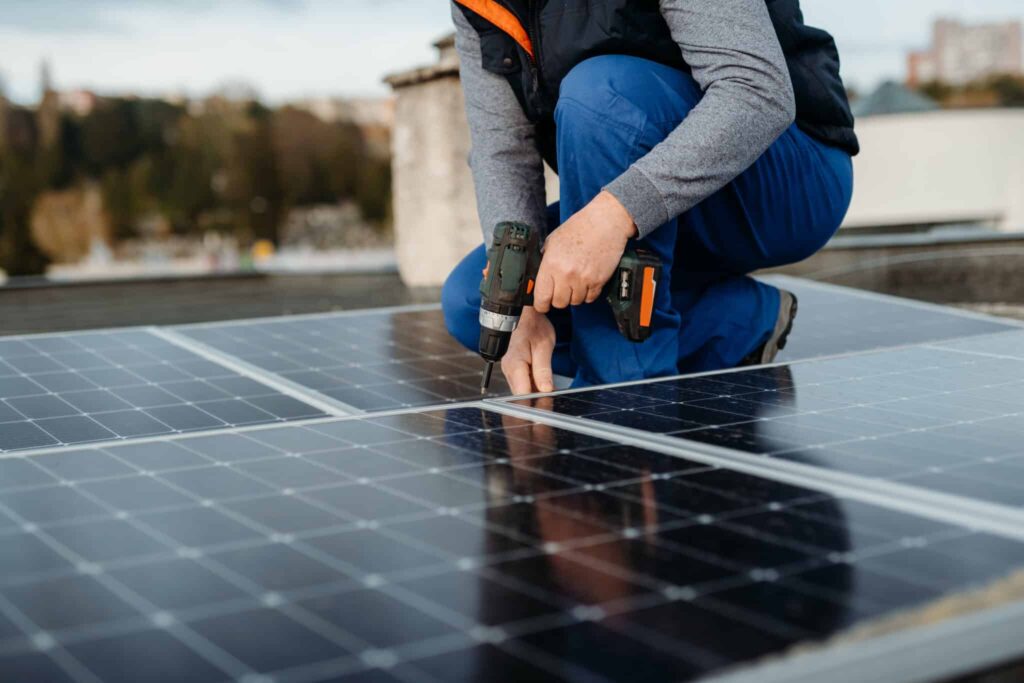
Step 1: Mount the Solar Panels
Start by securing the solar panels to your roof using the appropriate brackets and mounting hardware. Properly align the panels to optimize sunlight exposure, ensuring that they are fixed firmly for maximum efficiency and safety.
Step 2: Connect the Charge Controller
Next, wire the solar panels to the charge controller. This crucial component regulates the energy flow, preventing overcharging of the batteries and ensuring that the system operates smoothly. Be sure to follow the manufacturer’s wiring instructions for a safe and secure connection.
Step 3: Install the Inverter
The inverter is responsible for converting the DC power from the solar panels into AC power, which can be used by your home appliances. Connect the inverter to both the charge controller and the main electrical system of your home. Safety precautions are essential during this step to prevent any electrical hazards.
Step 4: Battery Installation (if applicable)
If your system includes battery storage, carefully wire the batteries to store excess energy for later use. This step involves connecting the battery terminals to the charge controller while ensuring correct polarity to avoid any damage to the components.
Step 5: Final Electrical Connections
Now, connect the entire solar power system to your home’s electrical panel. This step ensures that the power generated by your system can be distributed to light fixtures, outlets, and appliances. It’s important to check voltage compatibility to ensure smooth integration.
Step 6: Testing the System
Finally, power up your solar setup and test the system to make sure everything is functioning correctly. Check the battery charge levels, inverter output, and power distribution to verify that your home is now receiving clean, renewable energy from your solar system.
Safety Tips for DIY Solar Kit Installation
1. Work with Electrical Components Safely
DIY solar kits often involve working with electrical components that can pose serious risks if handled improperly. Always ensure you have a basic understanding of electrical systems before starting. Use a voltage tester to check that no power is flowing through the wiring before you begin. Never touch exposed wires or components while the system is powered on. Remember, electricity can be dangerous, so it’s essential to approach each step with caution and precision.
2. Protective Gear is Essential
Wearing protective gear like gloves, goggles, and sturdy clothing can provide essential protection when dealing with the various parts of the solar kit. Gloves will protect your hands from electrical shocks, sharp edges on metal parts, and potential burns from solar panels or wiring. Safety goggles are particularly important to protect your eyes from dust, debris, or accidental sparks. Wearing long-sleeve shirts and pants ensures that your skin is shielded from possible burns or scrapes during installation.
3. Always Power Off the System During Installation
One of the most crucial steps is ensuring that the system is completely powered off before starting the installation process. This includes disconnecting the system from both the grid and the battery, if applicable. Not only does this minimize the risk of electrical shock, but it also prevents damage to the components, which can happen if power is inadvertently supplied during installation. Double-check the power is off and confirm it with a tester before proceeding.
4. Avoid Common Installation Mistakes
Installing a DIY solar kit might seem straightforward, but there are several common mistakes that can lead to inefficient operation or even system failure. Some of these include incorrect wiring, improper placement of the panels, and not securing the panels correctly to prevent wind damage. To avoid these issues, carefully read through the manual provided with the kit and follow each step as directed. Pay particular attention to the voltage and current ratings of your components to avoid overloading. Additionally, ensure the panels are mounted at the right angle and in a position where they’ll receive the most sunlight exposure throughout the day.